First, you need to download Sanako Pronounce software from the Pronounce download site.
The download is an exe file. Run the PronounceInstaller.exe file and follow the instructions of the installation program.
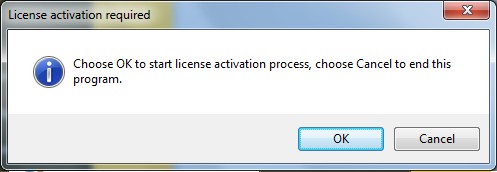
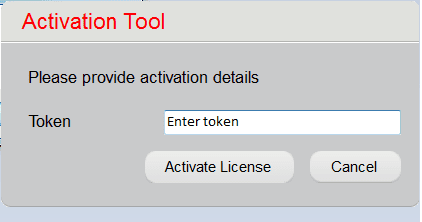
When you start the software you will be asked for a license token. Enter the token information you have received from Sanako by email and click Activate license.
If the license activation was successful, Sanako Pronounce starts up. It briefly displays a screen with license and version information and then loads the main application window.
Once you have got your system up and running, you are good to go ahead and start practicing. We recommend that you register your license with us at some point. If you are a software maintenance customer, you can get your free upgrade tokens only to your registered email address.
Text-to-speech voices
Sanako Pronounce may be used with the default text-to-speech voices in the Windows operating system. However, the text-to-speech voices are optimised for speaking a certain language, so for the best experience you should use a voice that matches the language being exercised. We recommend employing the high-quality voices offered by Sanako.
Please note that each voice item will require a separate software token.
For more information on acquiring text-to-speech voices, please contact your regional Sanako reseller. You can click the following link to find your Sanako reseller.
Speech recognition
The speech recognition features, including phonetic transcriptions, correct and incorrect words and pronunciation scores, require a Microsoft Windows speech recognition engine for the language used. Speech recognition engines are included Microsoft Windows operating systems and their additional user interface languages (Microsoft User Interface Language Packs).
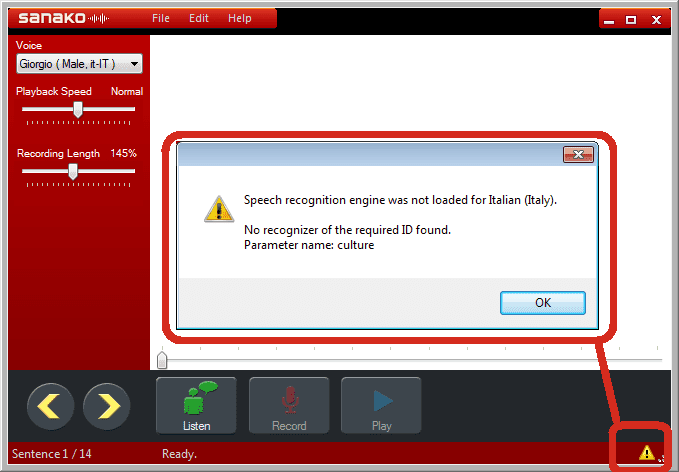
If your operating system does not include a speech recognition engine for the currently selected language, the above features are unavailable and you will also see a yellow triangle icon at the bottom right corner of Pronounce. Clicking the icon will give the following error message.
For more information on how to add languages to your operating system, please see the Microsoft Windows Web site
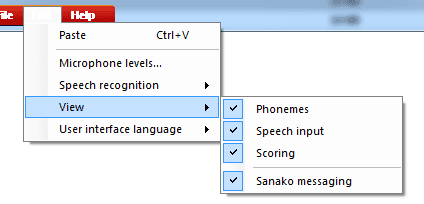
Please note that you may also select whether you want to display the individual speech recognition features in the Edit menu.
Setting up Pronounce Classroom
Three different applications are installed in a Pronounce Classroom. Pronounce Manager and Pronounce with editor are installed on the teacher computer and the normal Pronounce application is installed on the student computers. Pronounce Manager and Pronounce with Editor are installed together with the same installation file and Pronounce has a separate installation file. The software license will determine whether Pronounce includes the Editor or not.
Software
You can download Pronounce and Pronounce Manager software on the Sanako Software download site.
Licenses
You will have a separate software license for Pronounce and Pronounce Manager (license also activates Pronounce with Editor).
Installing Pronounce on Student workstations
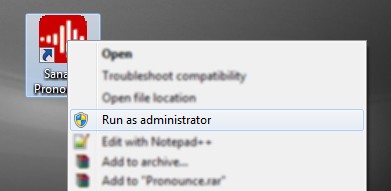
Install Pronounce on student workstations by running the PronounceInstaller.exe file. Use your Sanako Pronounce license. Then, start Pronounce in Administrator mode. To do this, right-click on Pronounce icon and select “Run as administrator”.
Open the Pronounce Edit menu and set the Operating mode to Classroom workstation. This is required so that Pronounce will communicate with Pronounce Manager. Otherwise, this will be a self-study workstation.
Leave Pronounce running on the student workstations. This will make it easier to set up the classroom layout in the teacher’s Pronounce Manager application.
Installing Pronounce Manager and Pronounce with Editor on teacher computer
Install Pronounce Manager and Pronounce with Editor on the teacher computer by running the PronounceManagerInstaller.exe file and then start Pronounce Manager.
Note that you can use your Pronounce Manager license to activate both applications.
Adding students and creating class layout
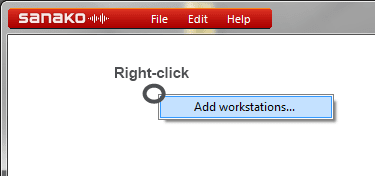
Pronounce Manager starts with an empty layout at first. To add students to the layout, right-click the empty area and select Add workstation icon…
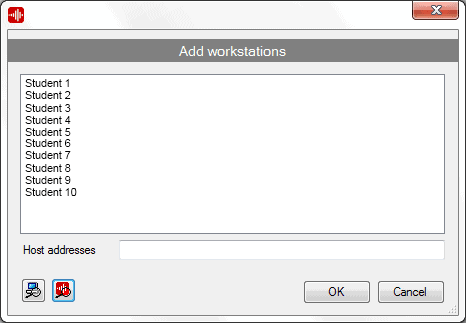
You can now select which computers to add to the classroom layout. You can either view a list of all domain or workgroup computer names found in the network or all computers currently running Pronounce in Classroom workstation mode.
If you left the student computers running Pronounce you can simply select and add all the students listed. In case you cannot find a particular computer in the list, you may add it just by typing its address in the box below the list.
When you have added the student icons, you can move them around to match the classroom. To move an icon, hold down the ALT-key and drag icon. You can select multiple students to move with the rubber band selector or by holding CTRL and clicking.
When the layout is finished, open the File menu and select Save Lab Layout to save the layout for later use.
Pronounce Manager settings
Before starting to use Pronounce Manager, configure the following items.
Open the File menu and select Settings.
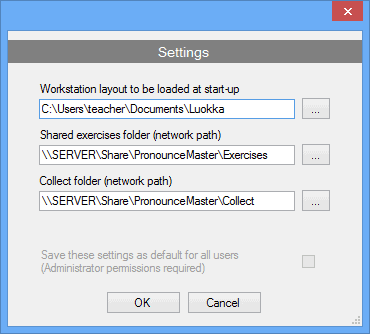
Classroom layout
Select the classroom layout that will be loaded by default when Pronounce Manager is started.
Shared exercises folder
This is used for storing the exercises you want to open for students.
Note: This must be a network path and the workstations must have read permissions to the shared folder.
Collect folder
This is where student files are saved when collecting student work from Pronounce workstations.
Note: This must be a network path and the workstations must have write permissions to the shared folder.
The settings are saved as user-specific preferences. If you want to save the settings as a computer preference for all users, you need to run Pronounce Manager as administrator and check the Save these settings as default for all users option.